Silage Filling Instructions
Positioning the bag
Position the box with the correct side towards the tunnel

For silage, ensure the black folds are facing the tunnel

Mounting the bag
Slide the bag onto the lift
Raise the lift gently
If the bagger has no lift, use a fork lift
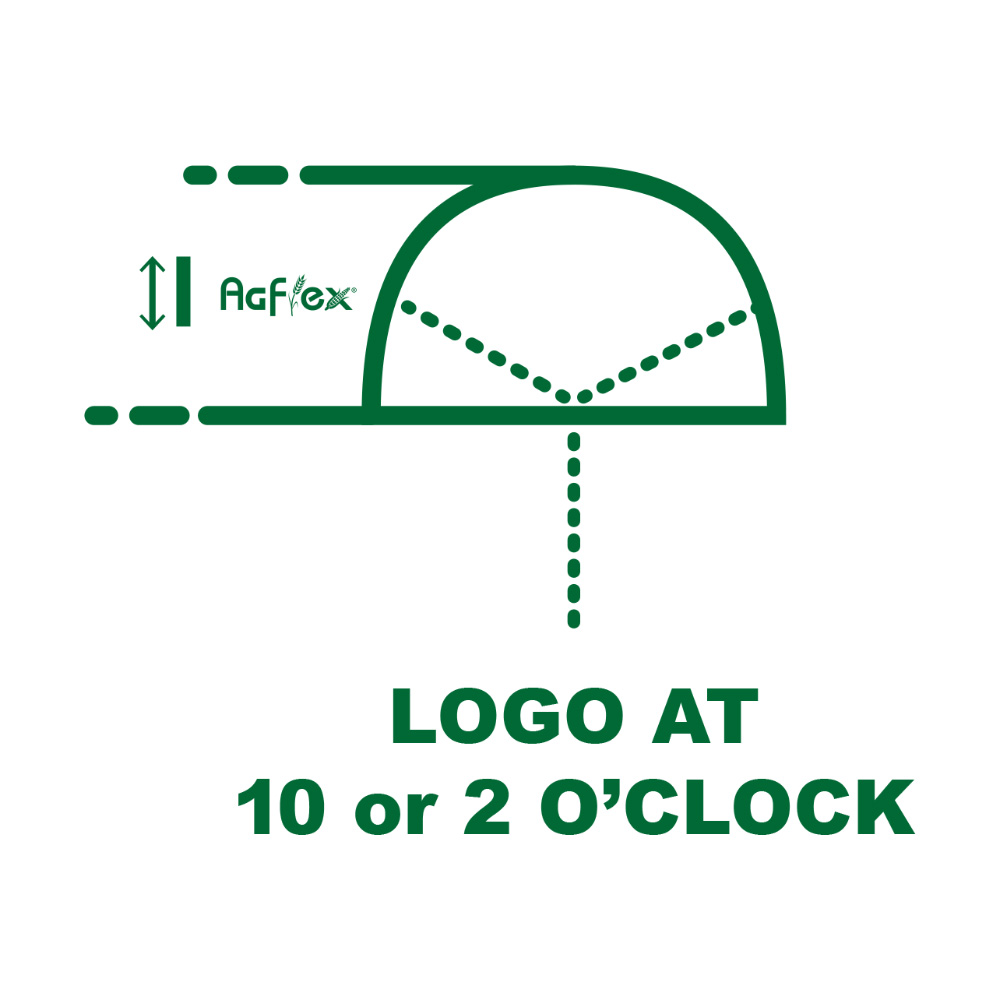
Ensure the logo/stretchindicator is positioned at 10 o'clock or 2 o'clock

Slide the upper part of the bag as far on to the tunnel as possible
Ensure the bottom of the bag is on the bag pan
Untie all the bag ties then raise the pan to the correct operating position
Check that the bag has no obstructions from the machine
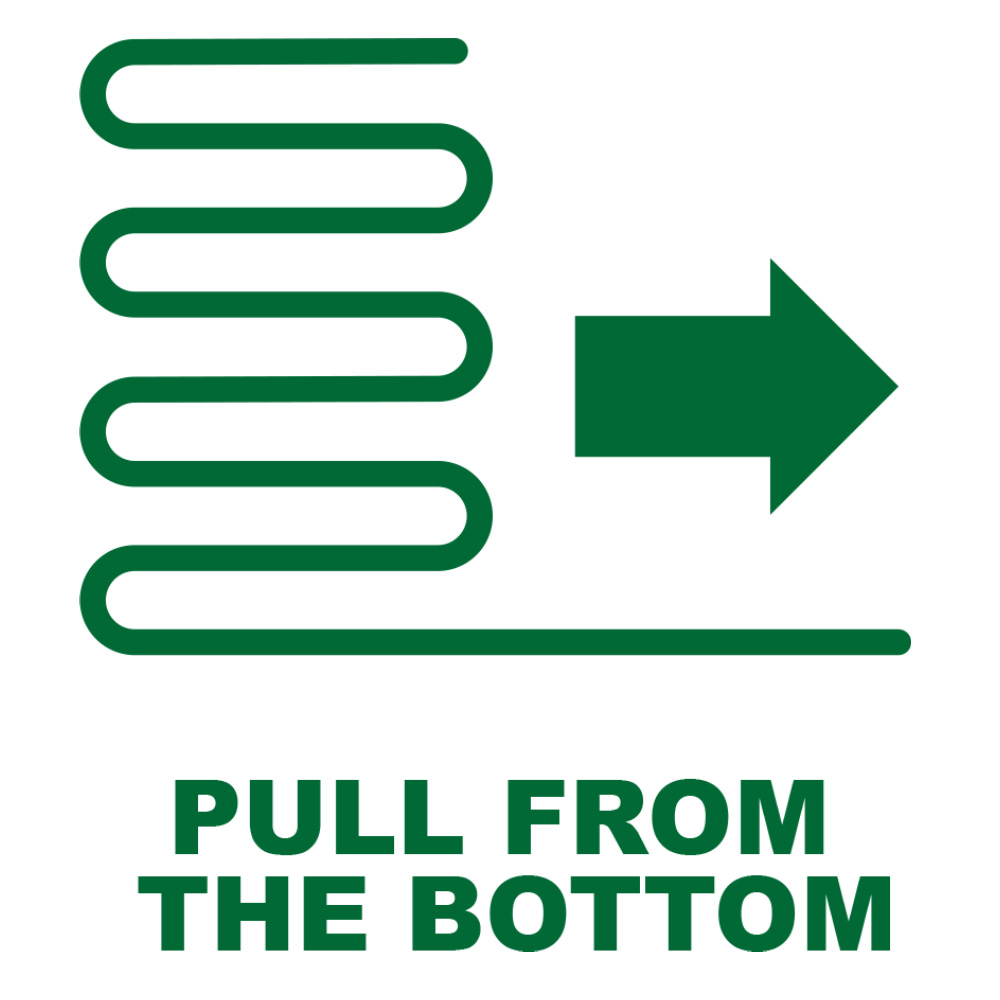
The sticker shows which way to pull the bag out

Pull an equal length of the bag from each side
Ensure the bag is wrinkle-free and squared to the tunnel
Tie off at 2 locations several inches apart
Fold the end under the bag to secure
Add the grid to the end of the machine
Ensure the bag is free of wrinkles when filling
Protect the sides of the bag during filling
Filling the bag
Pay close attention at the start of bag filling
The bag could easily overstretch
The silage will fill the bag and push the tractor forwards
Breaking power is influenced by the weight of the tractor, the surface of the ground, outside temperature and the product itself
Heavier or moist crops will stretch the bag more
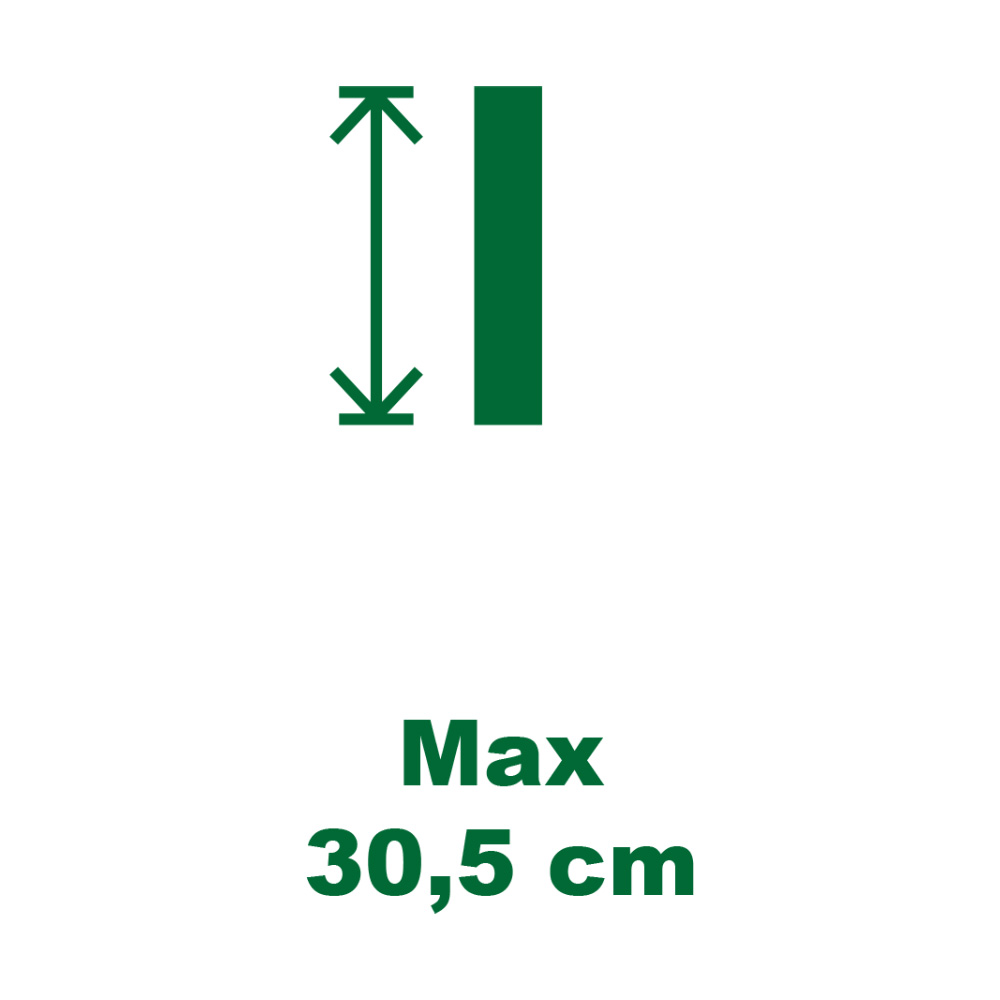
Check the stretch marker located next to the logo

Use the ruler provided to measure 2-3 logos back from the bagger
The red part of the ruler means the bag is overstretched
Fill the bag continuously to reduce bumps


